
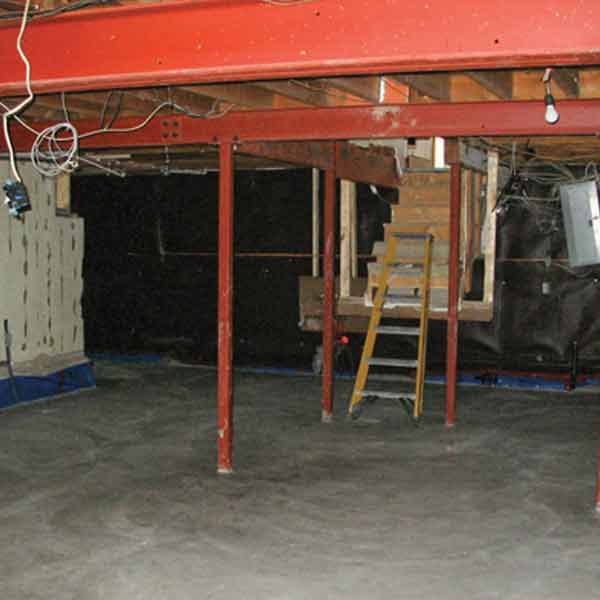
Making your basement safe and dry depends on a number of factors. We need to determine where the leak or leaks are, how much water is coming in and the overall condition of the foundation. This way we can assess how to safely and cost-effectively fix the problem.
For many projects, a proper fix will require us to remove the soil around the perimeter of your home so we can repair the foundation and make it waterproof again.We can do this very carefully and in consultation with you. In fact, we prefer to use quality materials that exceed building code standards. You can read more about our techniques below or ask us in person how these can save you money and hassle, especially in the long run.
One of the main concerns homeowners have is that excavation is messy! In fact, anything that might get in the way of gaining access to the foundation has to be removed. This includes decks, porches, landscaping and driveways. What’s more, while we’re moving all this dirt around, your yard will look unsightly. This is a necessity for this type of construction. What we can do is make sure the job is done efficiently so we can get your property back to normal as soon as possible. If it’s done right the first time, you will never have the hassle of digging out the area again.
When waterproofing around the exterior of the foundation, we have an excavator, mini excavator and two bobcats to make quick work of the digging portion of the project. However, in tight corners we dig by hand, taking extra care to make sure your property and foundation are safe.


Depending on the elevation of your property, at the side of your home we will dig approximately five to eight feet to the bottom of your foundation. We have to work in this hole, so we make it about 2.5’ wide. If we have to dig deeper, we’ll make this wider and add shoring (framework to hold the dirt back) to prevent cave-ins.
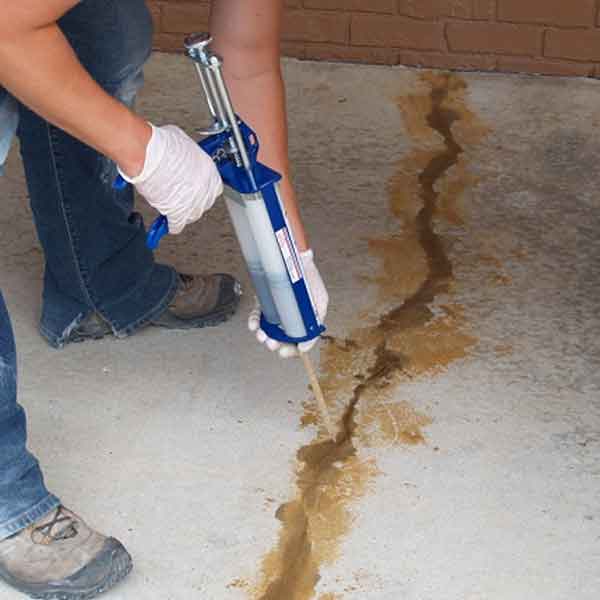
Now that we’re standing below ground level next to your foundation wall, the first thing we need to do is clean. Here we power wash your foundation and inspect it for cracks and damage. Then we apply cement parging to fix these cracks and to smooth the foundation wall. Once this dries, it will provide additional damp proofing and help secure our next waterproofing layer.
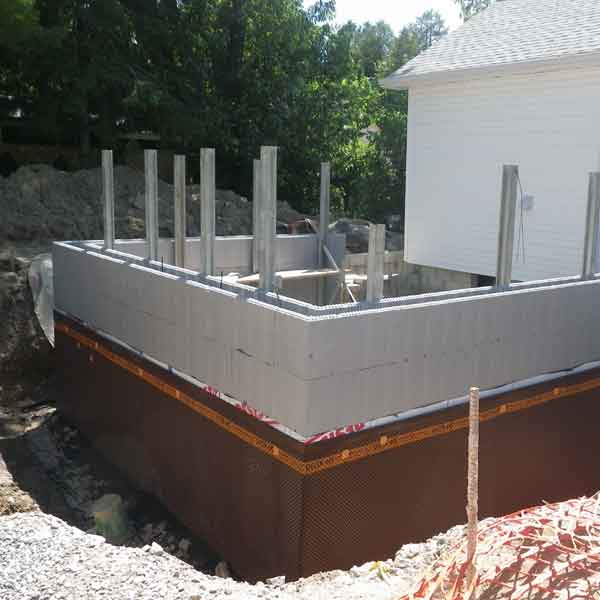
Our next waterproofing layer is a rubber-based primer. We use Blueskin® Primer here. It’s the same product the U.S. government used when building a three-level underground visitors’ centre on Capitol Hill!
After this primer, the new visitors’ centre used Blueskin WP, and we use it too. This is an excellent product. It is a membrane made from rubberized asphalt that comes in self-adhesive three-foot wide sheets. These sheets provide a tough, flexible and durable waterproof barrier that will continue to protect your foundation even if cracks appear underneath it. Unlike typical parging-only techniques, Blueskin does not dry up — so the sheets will continue to expand and contract as your foundation settles in future years.
Using Blueskin is not required by the building code, and many waterproofing contractors skip this step. We say, use it! Construction is costly, messy and a hassle. A leaking basement causes health problems and can ruin your belongings. Applying this extra layer is cost effective, and the best way to ensure you don’t face future problems.
What is required by Ontario building code is Delta MS. This is a sheet of dimpled, high-density polyethylene drainage membrane that is perfect for the job. Everyone has to use this. Because the sheet is dimpled, it creates an air gap between itself and the foundation wall (or for us, our Blueskin membrane). This way, if any water seeps in, it easily drains down to the bottom, and out, without getting trapped.
For water at the bottom of your footing, you have what is called a weeping tile. This is a continuous 4-inch pipe that carries any water. When we waterproof your basement, we’ll remove the old weeping tile and install new. We also place gravel over the weeping tile, which helps allow better drainage into the weeping tile itself.
And now we’re almost done! We just have to carefully backfill the area with native soil and make sure it is compacted and level to the ground. We’ll also make sure it is graded away from your home to allow water to run off.
Then we can clean up. We remove extra dirt, wash the home and driveway, and can restore property features that we had to move when we started the project. While we have experience with all types of construction, we often find homeowners like to get original landscapers to come back in to restore decks and special landscaping. Just let us know so we can work with them!


